If you have ever searched how to make hummus food and drowned in ten near-identical recipes, start here. The fix for grainy hummus is never a secret ingredient but a 20 minute simmer and a full 4 to 5 minutes of blending. Homemade hummus often comes out grainy and dull next to the whipped stuff at good Mediterranean spots. The texture turns silky once a 15 oz / 425 gram can of chickpeas, about 240 grams drained, is softened with 1/2 teaspoon of baking soda. The numbers that matter for this version: a batch that serves 8, keeps 7 days in the fridge, and freezes for 4 months.
This guide covers the exact ingredients and the job each one does, whether canned or dried chickpeas win, the step-by-step method, the two levers that fix grainy hummus for good, a troubleshooting table for when it goes wrong, flavor spins, serving ideas, how long it keeps in the fridge and freezer, real USDA nutrition numbers, and the most common mistakes so you can skip them. According to the USDA, hummus runs about 229 calories and 7.35 grams of protein per 100 grams, which is the overlooked detail that makes it worth batching in the first place. That number is more reliable than anything on a wellness blog. What most recipes get wrong is treating tahini as a garnish, and the step most guides skip is the long final blend. Unlike most quick versions, this one earns its texture. This updated version leans harder on the simmer-and-whip method. Hummus is naturally plant-based, so this is a recipe the whole vegan pantry already supports, no swaps required.
The short answer
Here is the 30-second version, because sometimes you just want to make it. Drain one 15 oz can of chickpeas, which weighs 425 grams gross and about 240 grams drained, then simmer them with 1/2 teaspoon of baking soda so they turn soft and the skins loosen, and rinse. In a food processor, blend 1/3 to 1/2 cup of tahini, roughly 120 grams, with 1/4 cup of fresh lemon juice and one garlic clove until it looks pale and thick. Add the warm chickpeas and 1/2 teaspoon of salt, then blend for a full 4 to 5 minutes, drizzling in ice water until it turns light and fluffy. That is the whole trick: soften the beans, whip the tahini, and let the machine run longer than feels reasonable. Set a timer so you do not stop early.
The core ratio worth memorizing is one can of chickpeas to one-third-to-one-half cup tahini to one-quarter cup lemon juice to one garlic clove to one-half teaspoon salt. Everything else is seasoning and texture control. The finished batch weighs around 500 grams and serves about 8 as a dip. It takes around 30 to 40 minutes start to finish, most of which is the chickpeas simmering unattended. This update uses more water than the 2024 version.
Ingredients and the job each one does
Hummus has a short ingredient list, which is exactly why each item carries weight. When hummus tastes flat, it is almost always because one of these is doing the wrong job, or not enough of it. Here is what goes in and why it earns its place.
- 1 can chickpeas (15 oz / 425 grams), drained – the body and the protein. This is roughly 1.5 cups, about 240 grams drained. Chickpeas, also called garbanzo beans, bring the starch and the mild nutty base that everything else seasons. If you use dried, you want about 3/4 cup dried to land near the same cooked volume.
- 1/3 to 1/2 cup tahini (about 120 grams) – the creaminess and the backbone flavor. Tahini is ground sesame paste, and it is the single biggest quality lever in the bowl. Good tahini pours like warm honey and tastes nutty, not bitter. Cheap, chalky tahini is the number one reason homemade hummus tastes off. Start at 1/3 cup; go to 1/2 cup if you love it rich.
- 1/4 cup lemon juice (about 1 lemon) – the brightness. Fresh-squeezed only. Lemon does more than add tang; its acid keeps the color pale and lifts the whole flavor so the dip does not taste heavy. Bottled juice tastes muted and slightly metallic here.
- 1 to 2 garlic cloves – the savory bite. One clove is gentle; two is assertive. One trick that makes a real difference is letting the minced garlic sit in the lemon juice for 10 minutes before blending, which mellows the raw, harsh edge.
- 1/2 teaspoon salt – the amplifier. Salt is what makes people say “why is this so good” without knowing why. Season, taste, and add a pinch more if it seems flat.
- 1/2 teaspoon baking soda – the texture tool, not a flavor. It goes in the cooking water to soften the chickpeas and loosen their skins. It does not stay in the final dip in any meaningful amount because you rinse the beans after.
- 2 to 4 tablespoons ice water – the whipping agent. Cold water blended into the tahini and beans emulsifies the fat and lightens the whole thing into that fluffy, spoon-holding texture. Aquafaba, the liquid from the can, works too if you want to lean fully plant-based and skip the tap water.
- 1 tablespoon extra virgin olive oil – optional, for finishing. Most of the oil is not blended in; it goes over the top so you taste it fresh. A pinch of cumin and a dusting of paprika on top are the classic finish.
That is the entire cast. If you are wondering whether this stays celiac-safe, chickpeas, tahini, and lemon are naturally gluten-free, and the pitfalls are broken down in our guide on whether hummus is gluten-free.
Choosing your chickpeas: canned vs dried
This is the fork in the road that decides how much effort your hummus takes, and honestly both roads lead somewhere good. Here is the real trade-off rather than the purist speech.
Canned chickpeas are the practical weeknight choice. They are already cooked, so you skip the overnight soak entirely. The catch is that straight from the can they are firm, and firm beans blend grainy. The fix costs 20 minutes: simmer the drained can in fresh water with 1/2 teaspoon of baking soda until the chickpeas are soft enough to smash against the side of the pot with a spoon. That short simmer is the difference between rustic and restaurant. One 15 oz (425 g) can gives you a batch that serves about 8.
Dried chickpeas are the upgrade path when you want the glass-smooth, plush texture that the best hummus shops hit. You soak about 3/4 cup dried chickpeas overnight, at least 8 hours, ideally with a little baking soda in the soak water, then cook them fresh until they are falling-apart tender, usually 45 minutes to an hour depending on their age. Older dried beans take longer, which is one reason canned is more predictable. The payoff is flavor and a creaminess that canned rarely fully matches. If you enjoy cooking legumes from dry, the same patience pays off with our walkthrough on how to cook lentils, which use a similar soak-and-simmer rhythm.
The honest recommendation: canned chickpeas for weeknights, and do not skip the baking soda step. Never use a stiff, cold tahini straight from the back of the fridge, because it seizes instead of whipping. Start with canned so you learn the tahini-and-ice-water technique without babysitting a pot, then move to dried once the method feels automatic. The technique matters far more than the starting bean.
How to make hummus, step by step
Read this once before you start so you understand where the patience goes. The only place people rush and regret it is the final blend. Give the machine the full time.
- Soften the chickpeas. Drain and rinse one 15 oz (425 g) can. Add the beans to a small pot with fresh water to cover and 1/2 teaspoon of baking soda. Bring to a simmer and cook for about 20 minutes, until a chickpea smashes easily when you press it. You will see loose skins floating; that is a good sign.
- Rinse and loosen the skins. Drain the chickpeas and rinse under cool water, rubbing them gently between your hands. Many skins will slip right off and rinse away. You do not have to remove every single one, but the more you lose here, the silkier the result. Keep a couple tablespoons of warm chickpeas aside if you want to garnish the top later.
- Prep the garlic and lemon. Mince 1 to 2 garlic cloves and stir them into 1/4 cup of fresh lemon juice. Let this sit for 10 minutes. This mellows the raw garlic so it does not bully everything else.
- Whip the tahini base. Add 1/3 to 1/2 cup of tahini to the food processor along with the lemon-garlic mixture. Blend for about 1 minute. It will look thick, pale, and almost seized up. That is exactly right; the acid is tightening the tahini before the beans go in.
- Add the chickpeas and salt. Tip in the warm, softened chickpeas and 1/2 teaspoon of salt. Blend for 1 minute to break them down into a stiff paste. Scrape down the sides.
- Run it long and stream in ice water. With the machine running, drizzle in 2 to 4 tablespoons of ice water, one tablespoon at a time. Then let it run for a full 4 to 5 minutes. Do not stop early. The mixture goes from thick and dense to pale, glossy, and fluffy right around the four-minute mark. This is the single step that separates smooth hummus from grainy.
- Taste and adjust. Stop and taste. Too flat, add a pinch of salt. Too thick, blend in another tablespoon of ice water. Want more brightness, a squeeze more lemon. Warm chickpeas blend smoother, so if it seized up from cold beans, a splash of warm water and another minute of blending loosens it.
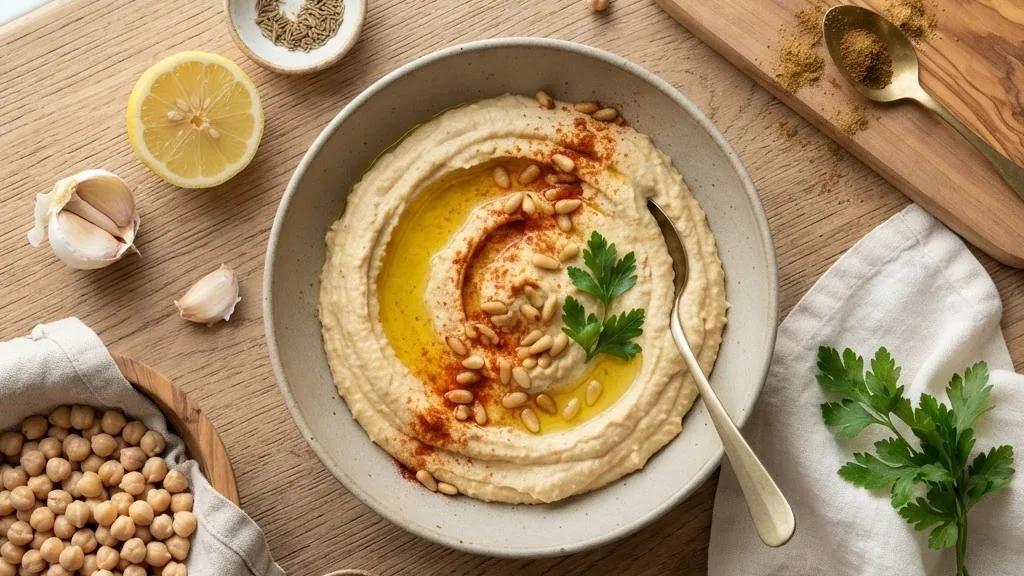
- Finish and serve. Spread into a shallow bowl, make a swirl with the back of a spoon, and pour 1 tablespoon of olive oil into the well. Dust with paprika and cumin, scatter the reserved whole chickpeas, and eat while it is fresh and a touch warm, which is when it tastes best.
The smoothness fix: no more grainy hummus
Grainy hummus is a common frustration, so here is why it happens and the three things that actually cure it. What most cooks miss is that texture is not luck. It comes down to chemistry plus time, and the same pattern shows up in every batch.
1. Baking soda raises the pH and softens the beans. Chickpea skins and the firm cell walls inside are what make hummus gritty. Adding about 1/2 teaspoon of baking soda to the cooking water makes the water more alkaline, which breaks down those cell walls and the pectin holding the skins on. The beans cook softer and faster, and the skins loosen so they rinse away. A firmer peel bath approach uses up to 1.5 teaspoons of baking soda in hot water for a couple of minutes purely to slip the skins. Either way, softer beans blend into a smoother paste. You rinse the beans afterward, so the baking soda does not carry a soapy taste into the dip.
2. Peel the skins, at least most of them. Every skin you remove is one less speck of grit. After the simmer, rubbing the warm chickpeas under running water floats the skins off in seconds. There is no need to obsess over getting all of them, but two extra minutes here produce a difference people notice without knowing why.
3. Whip the tahini with ice water and blend long. This is the part most home cooks shortchange. Tahini is largely fat, and cold water emulsified into it the way you would build an aioli turns the paste light and airy. Streaming in 2 to 4 tablespoons of ice water while the processor runs, then letting it run a full 4 to 5 minutes, whips air and moisture through the mixture. If you prefer a fully plant-based liquid, aquafaba, the starchy chickpea can liquid, whips in beautifully and adds body. The number one mistake is stopping at 60 seconds because it looks done. It is not done. Set a timer and walk away.
Do all three and grainy hummus is simply not something that happens to you anymore. Miss all three and no fancy tahini will save you.
Texture troubleshooting
When a batch goes sideways, it is almost always one of these five things. This table is worth keeping somewhere handy.
| Symptom | Likely cause | The fix |
|---|---|---|
| Grainy or gritty | Chickpeas too firm, skins left on, under-blended | Simmer beans 20 min with 1/2 tsp baking soda, rinse off skins, blend a full 4 to 5 min |
| Too thick or pasty | Not enough liquid, blended cold | Stream in 1 to 2 Tbsp more ice water or aquafaba while blending; use warm beans |
| Too runny | Too much water added at once | Blend in 1 to 2 more Tbsp tahini to rebuild body |
| Bitter aftertaste | Low-quality or old tahini | Switch tahini brands; add a pinch more salt and a squeeze of lemon to balance |
| Harsh raw garlic | Raw garlic blended straight in | Steep minced garlic in the lemon juice 10 min before blending, or use 1 clove instead of 2 |
Flavor variations
Once the plain version is dialed in, it becomes a base you can send in a dozen directions. These spins keep things interesting if you eat this every week.
- Roasted red pepper. Blend in 1/2 cup of jarred roasted red peppers, patted dry. It turns the dip sunset-orange and slightly sweet.
- Roasted garlic. Swap the raw clove for a whole head of roasted garlic for a deep, mellow, almost caramelized flavor with none of the bite.
- Herb and green. A big handful of fresh cilantro, parsley, or basil blended in makes a vivid green dip. Add a little more lemon to keep it bright.
- Spicy. A roasted jalapeno, a spoon of harissa, or 1/2 teaspoon of Aleppo pepper for heat that builds.
- Extra lemon and cumin. Push the lemon to 1/3 cup and add 1/2 teaspoon of cumin for a brighter, more savory profile.
- Beet. Blend in one small cooked, peeled beet for a magenta dip that is as pretty as it is earthy.
Keep the tahini, lemon, salt, and blend-time backbone the same for all of these. You are only adding a flavor lead on top of a proven base.
How to serve it
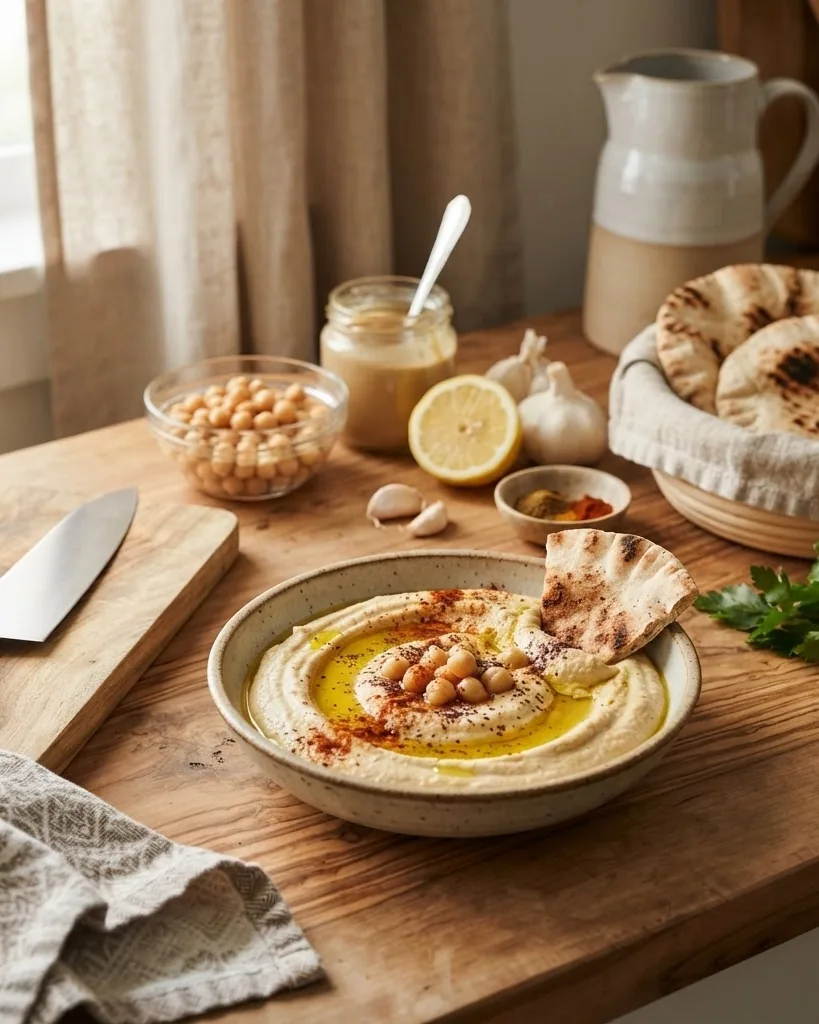
Hummus is one of those foods that stretches from a two-minute snack to the centerpiece of a spread. Warm pita and cut vegetables like carrots, cucumber, bell pepper, and celery are the obvious start, and they earn it. But the dip pulls its weight far past a party.
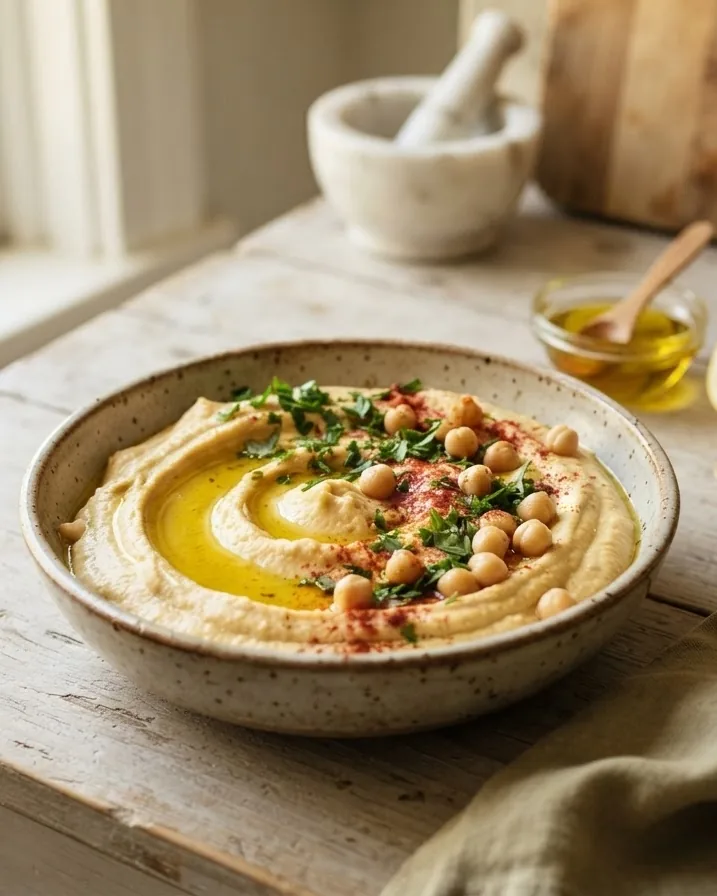
Spread it thick on toast under sliced tomato and flaky salt for breakfast, thin it with a little extra water and lemon into a salad dressing, use it as the creamy layer in grain bowls with roasted vegetables, or swipe it across a plate under warm falafel or roasted cauliflower. It is also a genuinely good sandwich spread, holding sliced veg in place better than most vegan mayo. The move that makes any of these look intentional is the finish: a swirl, a pour of good olive oil, a dusting of paprika, and a scatter of whole chickpeas or toasted sesame seeds on top.
Storage and freezing
Batch-making is the whole point, so storage matters as much as the recipe. Here is what holds up.
Fridge. Homemade hummus keeps well in an airtight container in the refrigerator for up to 7 days. It firms up cold because the tahini and starch set, so let it sit at room temperature for 15 minutes and stir in a teaspoon of water or lemon juice before serving to bring back the creamy texture. A thin layer of olive oil poured over the surface helps seal it and keeps the top from drying out.
Freezer. This freezer routine is updated from the version first posted, and it holds up better than most people expect. Pack it in an airtight container, leaving a little headroom, smooth a layer of olive oil over the top, and freeze for up to 4 months. Thaw it overnight in the fridge, then stir vigorously, because it can separate slightly, and blend in a splash of water or lemon to bring it back together. Half of a double batch freezes well, and the difference is hard to tell once it is stirred.
Food safety. This is no place to improvise. The U.S. Food and Drug Administration advises not leaving perishable food at room temperature for more than 2 hours, and that window drops to 1 hour when it is above 90 F, such as an outdoor summer table. Hummus is a moist, protein-containing food, so keep the serving bowl small and refill from the fridge rather than letting one big bowl sit out all afternoon. You can read the FDA guidance on the FDA site. When in doubt, chill it or toss it.
Nutrition
One reason this works as a weekly staple is that the numbers back it up, and they come from real data rather than a wellness blog guess. According to USDA FoodData Central, hummus (commercial) provides about 229 calories, 7.35 grams of protein, and 5.4 grams of fiber per 100 grams, along with roughly 17.1 grams of fat, 14.9 grams of carbohydrate, and 438 milligrams of sodium. You can look up the entry yourself at USDA FoodData Central.
Portioned the way people actually eat it, a 2-tablespoon serving of about 30 grams lands near 69 calories with roughly 2.2 grams of protein and 1.6 grams of fiber, while a more generous 1/4-cup serving of about 60 grams comes in around 137 calories with about 4.4 grams of protein and 3.2 grams of fiber. Homemade tends to run a little lighter on sodium than store-bought because you control the salt, which is one quiet advantage of making your own.
The bigger picture is that chickpeas are both a protein and a fiber source, which is why they anchor so many plant-based plates. The broader dietary guidance behind that lives at the USDA, and nutrition researchers such as the Harvard T.H. Chan School of Public Health point to legumes like chickpeas as a way to get plant protein and fiber in the same bite, a combination that helps a snack actually keep you full. Pair the dip with vegetables and whole-grain pita and a simple snack starts doing real nutritional work.
Common mistakes
Each of these is a common mistake, often made more than once. Learn them here instead of in your own bowl.
- Using firm chickpeas straight from the can. They will not blend smooth no matter how long you run the machine. Simmer them first for about 20 minutes with 1/2 teaspoon of baking soda.
- Stopping the blender too early. Sixty seconds looks done and tastes grainy. Commit to the full 4 to 5 minutes with ice water streaming in.
- Buying cheap tahini. Chalky, bitter tahini poisons the whole batch. Good tahini pours smoothly and tastes nutty. This is the ingredient to spend on.
- Using bottled lemon juice. It tastes flat and slightly metallic. Fresh lemon is doing flavor and color work that the bottle cannot.
- Dumping in raw garlic. Two raw cloves blended straight in will taste harsh an hour later. Steep the garlic in lemon juice for 10 minutes first, or start with one clove.
- Under-salting. Flat hummus is usually just under-seasoned. Taste, add a pinch, taste again.
- Serving it fridge-cold. Cold dulls the flavor and stiffens the texture. Let it warm up for 15 minutes and stir before serving.
- Skipping the skins entirely. You do not need every skin gone, but ignoring them completely is the most common reason a batch stays a little gritty.
Frequently asked questions
Do I really have to peel the chickpeas?
No, but it is the easiest upgrade available. Peeling removes the grit that keeps hummus from going fully silky. If you cook the beans soft with baking soda and blend for the full 4 to 5 minutes, you can get away with leaving most skins on and still land a good texture. On days you want it restaurant-smooth, spend the two extra minutes rubbing the skins off under running water.
Can I make hummus without tahini?
You can, but it changes the dip. Tahini provides the signature nutty richness and a lot of the creamy body. Without it you get more of a mashed-chickpea dip, brighter and lighter but missing depth. Without tahini, add a bit more olive oil and lemon and expect a thinner, more bean-forward result. For classic hummus, tahini stays.
Is homemade hummus healthy?
It stacks up well as far as snacks go. Per USDA FoodData Central, hummus runs about 229 calories, 7.35 grams of protein, and 5.4 grams of fiber per 100 grams, and chickpeas contribute both plant protein and fiber in one food. Making it at home lets you control the salt and oil, which is a genuine edge over many store versions. Portion it with vegetables and it is an easy way to add fiber to a day.
How long does homemade hummus last in the fridge?
Up to 7 days in an airtight container. It firms up cold, so let it sit out for about 15 minutes and stir in a splash of water or lemon before serving. A thin layer of olive oil over the top helps keep the surface from drying out during storage.
Can you freeze hummus?
Yes. Pack it airtight with a little headroom, cover the surface with olive oil, and freeze for up to 4 months. Thaw it overnight in the fridge, then stir hard, because it may separate a little, and blend in a splash of water or lemon to bring it back to creamy. Half of most double batches can go in the freezer, and the difference is hard to tell once it is stirred.
Why is my hummus grainy instead of smooth?
Almost always one of three things: the chickpeas were too firm, the skins were left on, or the mixture was under-blended. Simmer the beans about 20 minutes with 1/2 teaspoon of baking soda until they smash easily, rinse off as many skins as you can, and blend a full 4 to 5 minutes while streaming in 2 to 4 tablespoons of ice water. Fix those and grainy disappears.
Canned or dried chickpeas for hummus?
Both work. Canned is faster and more predictable, just simmer them 20 minutes with baking soda first so they are soft enough to blend smooth. Dried, soaked overnight for at least 8 hours and cooked until falling-apart tender, gives a slightly plusher, more flavorful result but takes more time and depends on how fresh the beans are. Start with canned, move to dried once the technique is second nature.
Is hummus safe to leave out at a party?
Keep an eye on the clock. The FDA advises not leaving perishable food at room temperature longer than 2 hours, or 1 hour if it is above 90 F outdoors. Hummus is moist and protein-containing, so serve it in a small bowl and refill from the fridge rather than letting a big bowl sit out for hours. Chill leftovers promptly.