How to cook red lentils comes down to one simple method: rinse one cup of dry red lentils, simmer them in about three cups of water for 15 to 20 minutes, and you have a pot of soft, creamy, protein-rich lentils ready for soups, curries, and dals. Red lentils are the fastest lentil to cook, they need no soaking at all, and they go from dry to done in less time than it takes to cook rice. That speed, plus their mild, slightly sweet flavor and their habit of breaking down into a silky puree, makes them one of the most useful plant-based pantry staples you can keep on hand.
The thing that trips people up is texture. Red lentils are not meant to stay firm and separate like green or brown lentils; they soften and collapse, which is exactly what you want for a creamy dal or a thick soup but exactly wrong if you were hoping for a lentil salad. Once you understand that and learn the small levers that control how soft or how loose they get, the water ratio, the cook time, when you add salt and acid, red lentils become foolproof. This guide walks through the full method step by step, the ratios for different results, the common mistakes and how to fix them, the stovetop and Instant Pot versions, how to season and store them, and the best ways to use them. By the end you will cook red lentils perfectly every single time.
What red lentils are and why they cook so fast
Red lentils are split lentils with their seed coat removed, which is the secret to their speed. Most red lentils (sometimes labeled masoor dal) start as whole brown-skinned lentils that are hulled and split, exposing the soft inner part. With no tough outer skin to soften, they absorb water and cook through in minutes, and they break down readily into a smooth, thick texture. That is why they need no soaking, where larger dried beans do, and why they are the go-to lentil for anything you want creamy.
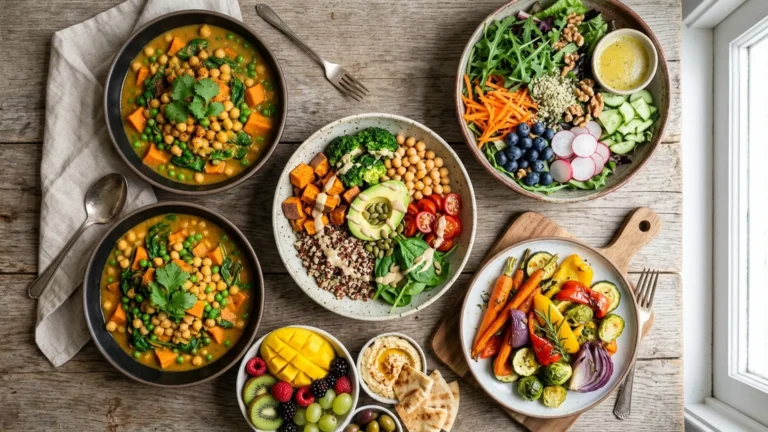
Despite the name, dry red lentils are more of an orange or salmon color, and they turn golden-yellow as they cook. They have a mild, mildly sweet, earthy flavor that takes on seasoning beautifully, which is why cuisines across India, the Middle East, and the Mediterranean lean on them so heavily. Nutritionally they are a powerhouse: a cooked cup brings roughly 12 to 18 grams of plant protein and a big dose of fiber, plus iron, folate, and potassium, all for very few calories and no fat. That combination of protein and fiber is what makes red lentils such a staple in any rundown of plant-based protein sources, and it is why a pot of lentils stretches so far as an affordable, filling meal base.
The basic stovetop method, step by step

The classic stovetop method is the one to master first, because it gives you the most control. Here is the full sequence.
Step 1: Rinse. Put your red lentils in a fine-mesh strainer and rinse under cold running water for thirty seconds or so, until the water runs mostly clear. Rinsing removes dust and any starchy residue and cuts down on foaming later. Pick out the occasional small stone or shriveled lentil while you are at it.
Step 2: Combine. Add the rinsed lentils to a pot with your water or broth. For a soft, slightly loose texture good for soups and dal, use three cups of liquid per cup of lentils. For a thicker, scoopable texture, use two to two and a half cups. Do not add salt yet (more on that below).
Step 3: Boil, then simmer. Bring the pot to a boil over high heat, then immediately reduce to a low simmer. Skim off any foam that rises in the first couple of minutes. Simmer uncovered or with the lid slightly ajar, stirring occasionally so the lentils do not stick to the bottom.
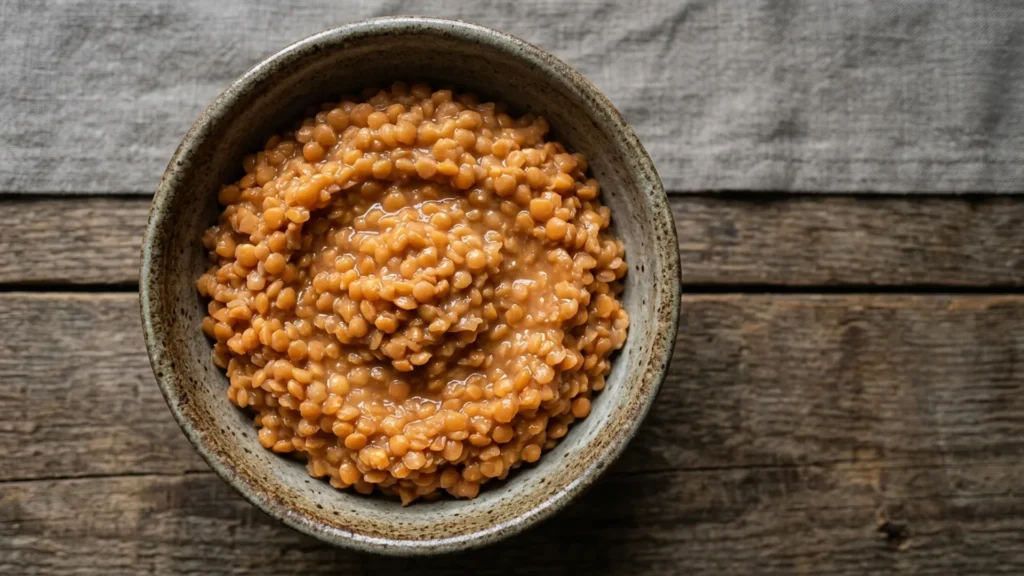
Step 4: Cook to your texture. For firmer, just-tender lentils that still hold some shape, check at around 10 minutes. For soft, creamy lentils that start to break down, go 15 to 20 minutes. The longer they cook, the more they collapse into a puree, which is ideal for dal and thick soups.
Step 5: Season and finish. Once the lentils are as tender as you want, stir in salt and any acid like lemon juice. Drain off excess liquid only if there is more than you want; for many dishes you keep the cooking liquid as part of the dish. That is the whole method, and it takes about twenty minutes start to finish.
Water ratios for different textures
The single biggest lever for the result you get is the liquid ratio, so it is worth knowing the numbers. Red lentils absorb a lot of water and the ratio decides whether you end up with a thick mash or a pourable soup.
Remember that you can always add more liquid as the lentils cook if they get too thick, and you can simmer off extra liquid uncovered if they are too loose. Start with the ratio that matches your dish and adjust by eye, since older lentils absorb a bit more water than fresh ones.
When to add salt and acid
This is the detail that causes the most confusion, partly because the advice differs for different lentils. For firm lentils like green and brown (where you want them to hold their shape), salt and acid added early can keep them from softening, so it is often best to add salt later. Red lentils are a different case: you want them to soften and break down, so adding salt during cooking is fine and will not ruin them.
That said, there is still a reason many cooks add salt toward the end with red lentils: it lets you taste and season precisely once you know the final volume, and it avoids over-salting a pot that reduces and concentrates. Acid is the bigger consideration. Acidic ingredients like tomatoes, lemon juice, or vinegar slow down the softening of any lentil, so if your recipe includes a lot of acid, the lentils may take noticeably longer to break down. The practical rule for red lentils: salt whenever it is convenient, but add tomatoes, lemon, or vinegar after the lentils have softened, not at the start, so they cook down properly first. This kind of timing detail is exactly what separates a flat pot of lentils from a well-built one, the same way layering matters in our broader guide to building gluten free, plant-based meals.
Common mistakes and how to fix them
Most red lentil problems come from a handful of avoidable missteps, and each has an easy fix.
They turned to mush and I wanted them firm. Red lentils are designed to break down; they will not hold a firm, separate shape no matter how careful you are. If you need firm, salad-style lentils, use green, brown, or black (beluga) lentils instead. For red lentils, embrace the creaminess.
They stuck and scorched on the bottom. Red lentils are starchy and sink, so they catch on a hot pot. Keep the heat at a gentle simmer, not a hard boil, and stir every few minutes, scraping the bottom. A heavy-bottomed pot helps a lot.
The pot foamed over. The starchy foam that rises in the first few minutes can boil over. Rinse the lentils well first, start uncovered, skim the foam, and keep the simmer gentle until it settles.
They are still firm after 20 minutes. Usually this means hard water, lots of acid added too early, or old lentils. Remove any acidic ingredients next time until the end, and give old lentils extra time and water; very old lentils sometimes never soften fully.
The dish is too thick after sitting. Red lentils keep absorbing liquid as they cool, so dal and soup thicken in the fridge. Just stir in a splash of water or broth when reheating to loosen them back up.
Cooking red lentils in an Instant Pot or pressure cooker

Red lentils cook so fast on the stove that a pressure cooker is not strictly necessary, but it is hands-off and convenient for a big batch. In an Instant Pot, combine rinsed red lentils with liquid at the same ratios as the stovetop (around two and a half to three cups per cup of lentils), and cook on high pressure for just a few minutes, typically 3 to 5 minutes, followed by a natural pressure release of about 10 minutes.
Because red lentils are so quick, it is easy to overcook them in a pressure cooker into a complete puree, which is perfect for a smooth soup or dal but worth knowing if you want any texture left. Use the shorter end of the time range and a full natural release for the gentlest result. The pressure-cooker method shines when you are building a one-pot meal: saute your aromatics using the saute function, add the lentils and liquid, pressure cook, and you have a finished curry or soup with minimal cleanup. Whichever method you use, the lentils themselves behave the same way, soft, creamy, and ready to take on whatever spices you bring to them.
How to season and use cooked red lentils
Plain cooked red lentils are mild, so seasoning is where they come alive. They have a natural affinity for warm spices: cumin, coriander, turmeric, ginger, garlic, and a pinch of chili turn a pot of lentils into a classic dal in minutes. A tempering of spices bloomed in oil (called tarka or tadka) poured over the finished lentils is the traditional finishing touch and adds enormous flavor for little effort. A squeeze of lemon or lime at the end brightens everything, and a handful of fresh cilantro or spinach stirred in adds color and freshness.
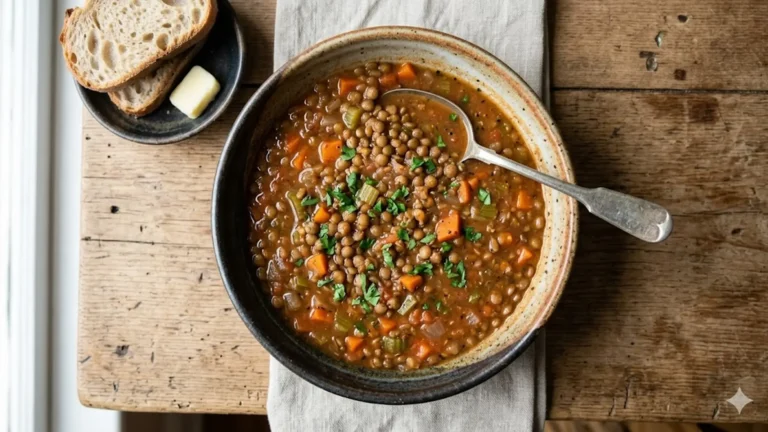
Beyond dal, cooked red lentils are remarkably versatile. Their creamy, thickening quality makes them ideal for soups and stews, where they melt in and add body plus protein without any dairy. Blend them into a smooth bisque, fold them into a tomato sauce to bulk up pasta, mash them into veggie burgers and patties, or spread them as a base for a savory toast. They even work as a thickener for curries that need more heft. Because they break down so willingly, red lentils are one of the easiest ways to add plant protein to almost any savory dish. Recipe sites like Minimalist Baker are full of red lentil dals, soups, and curries that show off the range, and the nutrition science on legumes summarized at NutritionFacts.org underlines why making lentils a regular habit is one of the smartest moves in a plant-based diet.
Storing and meal-prepping red lentils
Red lentils are made for batch cooking, since they keep and reheat well. Cooked red lentils last about four to five days in an airtight container in the refrigerator, and they freeze well for up to a few months. Because they thicken as they sit and absorb liquid, expect a refrigerated batch to firm up; just stir in water or broth when you reheat to bring back the texture you want.
For meal prep, cook a large pot of plain or lightly seasoned lentils at the start of the week and use them several ways: as a quick dal one night, stirred into soup another, blended into a sauce, or spooned over grain bowls. Freeze portions flat in bags so they thaw fast. Dry red lentils themselves store for a year or more in a sealed container in a cool, dark pantry, though older lentils take a little longer to soften, so use them within a year for the best texture. With a bag of dry red lentils in the cupboard and a few cooked portions in the freezer, a fast, protein-rich, plant-based meal is never more than a few minutes away.
Frequently asked questions
Do you need to soak red lentils before cooking?
No, red lentils do not need soaking. They are split and hulled, so they cook through in 15 to 20 minutes on the stove without any pre-soaking. Just rinse them under cold water to remove dust and reduce foaming, then simmer. Skipping the soak is one of the main reasons red lentils are so convenient.
What is the water ratio for red lentils?
Use about three cups of water per cup of dry red lentils for a soft, soup-friendly texture, or two to two and a half cups for a thicker, scoopable dal. You can add more liquid if they get too thick or simmer off extra if too loose. Older lentils absorb a little more water than fresh ones.
Why do my red lentils turn to mush?
Because that is what red lentils do. They are split and hulled, so they break down into a creamy, soft texture rather than staying firm and separate. This is ideal for dal and soups but not for salads. If you want lentils that hold their shape, use green, brown, or black (beluga) lentils instead.
When should I add salt to red lentils?
For red lentils, you can add salt during or after cooking; since you want them to soften, salt will not toughen them the way it can with firmer lentils. Many cooks salt toward the end to season precisely. Add acidic ingredients like tomatoes or lemon after the lentils soften, since acid slows their breakdown.
How long do red lentils take to cook?
Red lentils cook in about 15 to 20 minutes on the stovetop for a soft, creamy texture, or around 10 minutes for firmer, just-tender lentils. In an Instant Pot, they need only 3 to 5 minutes at high pressure plus a natural release. They are the fastest-cooking lentil, which is part of their appeal.
Are red lentils healthy?
Yes, red lentils are very nutritious. A cooked cup provides roughly 12 to 18 grams of plant protein and a large amount of fiber, plus iron, folate, and potassium, with almost no fat and few calories. They are an affordable, filling staple that supports a plant-based diet, and their fiber is good for digestion and blood sugar.
The bottom line
Cooking red lentils is genuinely easy once you accept that they are meant to be soft and creamy rather than firm: rinse them, simmer one cup in about three cups of water for 15 to 20 minutes, season at the end, and you have a versatile, protein-packed base in twenty minutes flat with no soaking required. The water ratio controls everything from a thick dal to a pourable soup, salt is forgiving with red lentils, and acid is the one thing to add late so the lentils soften first. Avoid the few common pitfalls, scorching, foaming, and expecting them to hold their shape, and they reward you every time. Keep a bag in the pantry and a few cooked portions in the freezer, and red lentils become one of the fastest, cheapest, and most nourishing ways to put a plant-based meal on the table.