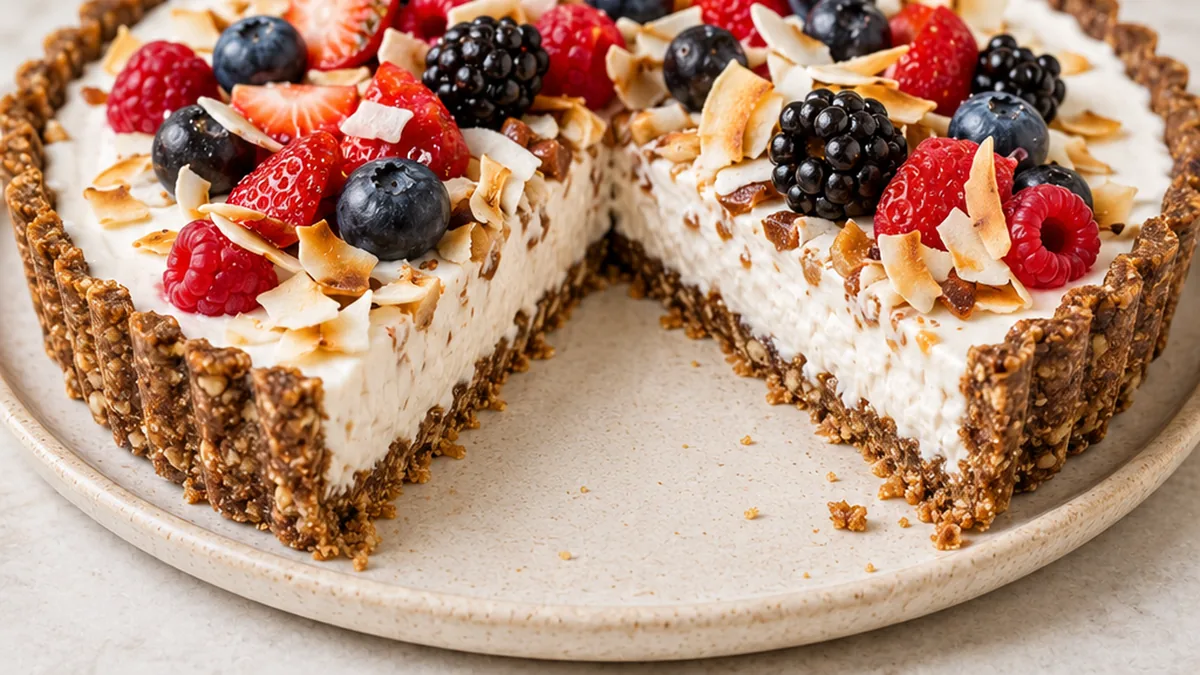
This healthy coconut tart offers a delightful balance of creamy, nutty, and sweet flavors, perfect for those seeking a guilt-free indulgence. Unlike traditional tarts, this recipe uses wholesome ingredients like dates, cashews, and coconut cream to create a rich yet light dessert experience. It’s ideal for beginners and experienced bakers alike, proving that healthy can be absolutely delicious. Our focus on a no-fuss preparation means you can achieve a stunning and satisfying dessert with minimal effort. The combination of textures, from the chewy crust to the smooth filling and fresh berry topping, makes this coconut tart a showstopper for any occasion.
Key takeaways
- The crust's texture is achieved by processing nuts, coconut, and dates until just combined and then pressing firmly.
- Full-fat coconut cream is essential for a thick, set filling; chilling the can beforehand is key.
- Thorough chilling of the assembled tart is critical for it to set properly and slice cleanly.
- Balance the sweetness of the filling with the tartness of fresh lemon juice.
Dreamy Coconut Tart: No Fuss, Pure Bliss!
Ingredients
Method
- To make the crust: Line a rectangular baking pan with parchment paper. In a food processor, combine the cashews, coconut, dates, and cinnamon. Pulse until finely ground and the mix forms a ball, about 2-3 minutes.
- Press the crust mixture into the bottom of the prepared pan, making sure to pack it in tightly. Chill in the fridge.
- Combine the coconut cream and honey/maple syrup in a large pot. Set over high heat and bring to a boil. Once boiling, boil for 10 minutes.
- Remove from heat and whisk in the lemon juice, vanilla extract, and a pinch of salt. Stir in the chopped white chocolate, if using, until melted and smooth.
- Carefully pour the coconut cream mixture onto the chilled crust. Cover and chill for at least 2 hours, or until set.
- Before serving, remove the tart from the pan and top generously with fresh mixed berries. Keep chilled until ready to serve.
Notes
– For a firmer crust, chill it for at least 30 minutes before adding the filling.
– If you don’t have fresh berries, a drizzle of fruit coulis also works beautifully.
– For a vegan version, ensure you use maple syrup instead of honey. Allergens: Tree nuts. Nutrition information is an estimate, calculated automatically. Values vary with brands, substitutions and portion sizes.
The technique that makes it
What makes this no-fuss coconut tart work is the interplay between its distinct layers and the chilling process. The crust, a blend of roasted salted cashews, raw coconut flakes, and Medjool dates, relies on the natural stickiness of the dates to bind the nuts and coconut together. Roasting the cashews beforehand enhances their flavor and aroma, contributing a deeper nutty profile to the base. The key is to process these ingredients until they form a cohesive, slightly sticky mixture that holds its shape when pressed. Avoid over-processing, which can lead to a greasy or overly dense crust. Pressing this mixture firmly and evenly into the tart pan ensures a sturdy foundation that won’t crumble when sliced. The filling, a rich and creamy concoction of full-fat coconut cream, sweetener, lemon juice, and vanilla, benefits from the full-fat coconut cream. Using only the solid cream from the top of a chilled can is crucial for achieving a thick, mousse-like consistency without the need for gelatin or eggs. The lemon juice not only adds a bright, balancing acidity to the sweetness but also helps to slightly thicken the coconut cream. Chilling the tart is paramount. This allows the crust to firm up and the coconut cream filling to set, transforming it from a liquid to a sliceable, decadent dessert. The optional white chocolate, when melted and incorporated, adds a luxurious smoothness and a subtle sweetness that complements the coconut and dates.
Troubleshooting
- Crust is too crumbly: If the crust mixture doesn’t hold together when pressed, add a few more pitted dates, one at a time, and pulse until the desired consistency is reached. Alternatively, a tablespoon of melted coconut oil can help bind the ingredients.
- Filling is too thin: Ensure you are using full-fat coconut cream and that it has been well-chilled so the solid cream separates from the liquid. If the filling remains too thin after mixing, chill the tart for a longer period, at least 4-6 hours or overnight, to allow it to set properly.
- Tart is difficult to slice cleanly: A sharp, thin knife dipped in hot water and wiped dry between slices will help achieve clean cuts. Ensure the tart is thoroughly chilled, as a firmer tart will slice more easily.
- Flavor is too sweet: Adjust the amount of honey or maple syrup in the filling to your preference. The lemon juice also plays a role in balancing sweetness; ensure you use the full amount or even a touch more if desired.
Substitutions
- Nuts for crust: Almonds or walnuts can be used instead of cashews for the crust. The flavor profile will change, but the binding properties should remain similar.
- Sweetener: Agave nectar or date syrup can be substituted for honey or maple syrup, adjusting the quantity based on their sweetness intensity.
- Lemon juice: Lime juice can be used as a substitute for lemon juice, offering a slightly different citrus note.
- White chocolate: For a dairy-free option or if omitting, you can increase the amount of coconut cream slightly or add a tablespoon of melted coconut oil for richness.
Pro tips
- Ensure your coconut cream is full-fat for the creamiest filling.
- For a firmer crust, chill it for at least 30 minutes before adding the filling.
- If you don’t have fresh berries, a drizzle of fruit coulis also works beautifully.
- For a vegan version, ensure you use maple syrup instead of honey.
Enjoy this wholesome and delicious coconut tart as a refreshing dessert or a sweet treat. Experiment with different fruit toppings to make it your own!
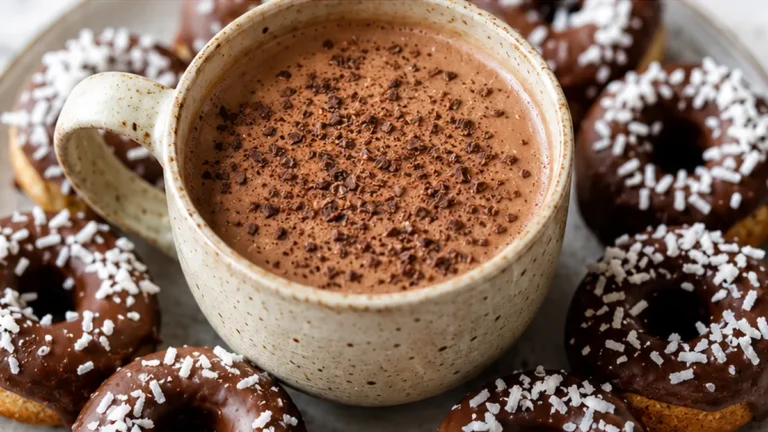
Try this next: Dreamy Coconut Coffee & Mini Doughnut Bliss!
More from Vegan Desserts →
Frequently asked questions
Can I make the coconut tart crust ahead of time?
Yes, the crust can be prepared up to 2 days in advance. Press it into the tart pan and cover tightly with plastic wrap. Refrigerate until ready to fill and bake. This makes assembly on the day of serving much quicker and easier.
What can I use instead of full-fat coconut milk?
For the best creamy texture, full-fat coconut milk is recommended. If you must substitute, use a blend of light coconut milk and a tablespoon of coconut cream. Avoid ‘coconut beverage’ as it’s too thin and will result in a watery filling.
How do I know when the coconut tart is fully baked?
The tart is done when the edges are golden brown and the center is just set, with a slight wobble. It should not look liquid. Avoid overbaking, which can cause the filling to crack. Let it cool completely before slicing.
How should I store leftover coconut tart?
Leftover tart should be stored in an airtight container in the refrigerator. It will keep well for up to 3 days. The crust may soften slightly over time. For best results, let it come to room temperature for about 15-20 minutes before serving.