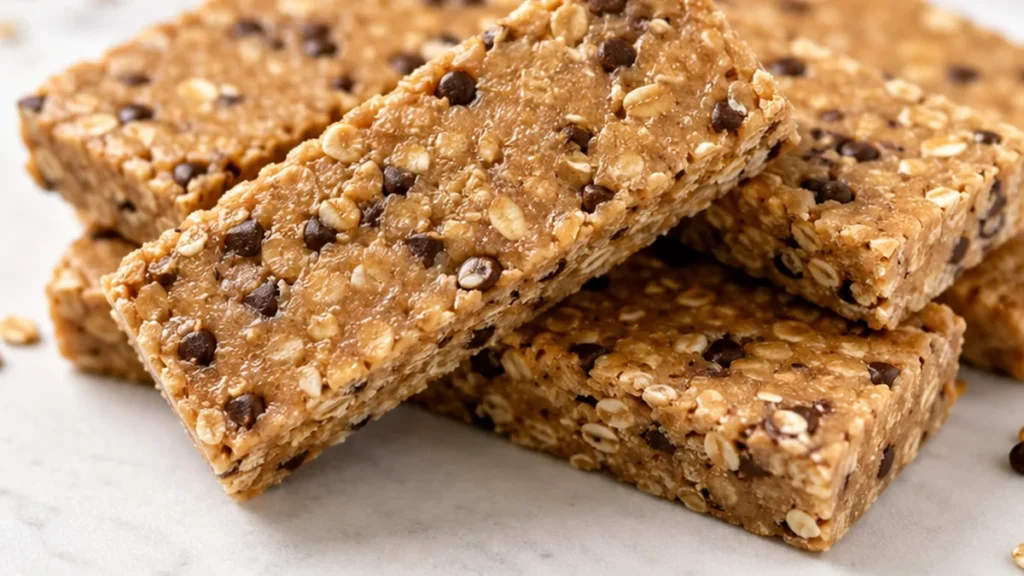
These no-bake protein bars are a straightforward way to create a healthy, satisfying snack. Made with peanut butter and oats, they are easy to prepare.
Key takeaways
- Achieve the correct dough consistency by balancing wet and dry ingredients.
- Ensure peanut butter and maple syrup are well-emulsified for even binding.
- Chill bars sufficiently for them to set properly.
- Accurate measurement of ingredients is key to successful no-bake bars.
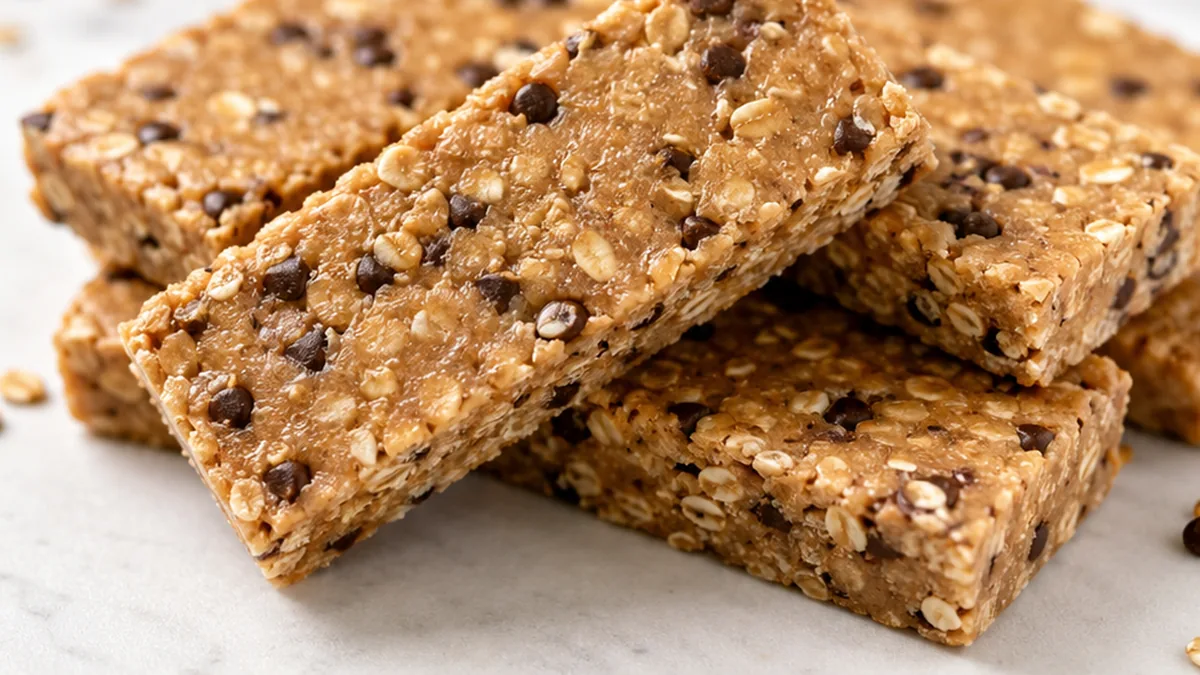
Peanut Butter Protein Bars Recipe
Ingredients
Method
- Line an 8×8 or 9×9 baking dish with parchment paper, ensuring overhang for easy removal.
- In a large mixing bowl, combine the peanut butter, maple syrup, mashed banana, vanilla extract, protein powder, flax meal, quick-cooking oats, crispy rice cereal, and sea salt until thoroughly mixed. Gently fold in the chocolate chips.
- Press the mixture very firmly and evenly into the prepared baking dish, using the back of a spoon or your hands.
- Freeze for 30 minutes or until the bars are completely firm.
- Lift the bars from the baking dish by pulling up on the parchment paper overhang. Place on a cutting board and cut into 12 equal bars using a sharp knife.
Notes
– If your protein powder makes the mixture too dry, add an extra teaspoon of maple syrup or a splash of non-dairy milk until it reaches a firm, moldable consistency.
– Store the finished protein bars in an airtight container in the refrigerator for up to a week, or freeze for up to 3 months. When I store mine in the freezer, I individually wrap them for easy grab-and-go access. Nutrition information is an estimate, calculated automatically. Values vary with brands, substitutions and portion sizes.
The Science of No-Bake Binding
The success of these no-bake peanut butter protein bars hinges on achieving the right consistency through careful ingredient ratios and temperature. The primary binding agents are the peanut butter and maple syrup. Peanut butter, an emulsion of fat and protein, provides a sticky base. Maple syrup, a sugar solution, acts as a liquid sweetener and binder. When combined with the dry ingredients – protein powder, flax meal, oats, and crispy rice cereal – they create a dough that holds its shape. The key is the interaction between the wet and dry components. Too much liquid, and the bars will be crumbly or won’t set. Too little, and they will be overly dense and difficult to mix. The banana adds moisture and sweetness but also contributes to the overall texture; its starch content helps bind as well. Ensuring the peanut butter and maple syrup are well-emulsified before adding dry ingredients is crucial for an even distribution of moisture and prevents pockets of dryness or excessive stickiness. The final texture is a balance between the chewiness of the oats, the crispness of the rice cereal, and the dense, fudgy quality from the protein powder and peanut butter base.
Troubleshooting
- Failure: Bars are too crumbly and won’t hold their shape.
Fix: The mixture likely lacked sufficient binder or was too dry. Reintroduce a small amount of peanut butter or maple syrup (1 tablespoon at a time), mixing thoroughly until the dough just comes together. You may need to add a bit more protein powder or flax meal if it becomes too sticky. - Failure: Bars are too sticky and difficult to handle.
Fix: The mixture has too much liquid. Gradually add more dry ingredients, such as protein powder, flax meal, or oats (1 tablespoon at a time), until the dough is firm enough to press into the pan without excessive sticking. - Failure: Bars are hard and dry after setting.
Fix: This usually indicates too much dry ingredient or not enough moisture. Ensure you measured the peanut butter and maple syrup accurately. If the dough felt very stiff during mixing, consider adding a splash more maple syrup or a bit of mashed banana next time. - Failure: Bars do not set firmly in the refrigerator.
Fix: This could be due to insufficient binding agents or a temperature issue. Ensure the correct amount of peanut butter and maple syrup was used. Allow the bars to chill for at least 2-3 hours, or even overnight, to fully firm up.
Substitutions
- Nut Butter: Almond butter or cashew butter can be used instead of peanut butter. The resulting bars will have a slightly different flavor profile and potentially a different texture depending on the oil content of the chosen nut butter.
- Sweetener: Honey or agave nectar can replace maple syrup. These will alter the flavor slightly and may affect the binding consistency due to differences in sugar composition and viscosity.
- Flax Meal: Chia seeds (ground or whole) can be substituted for flax meal. Chia seeds will absorb liquid similarly and contribute to binding, though the texture might be slightly different.
- Oats: Rolled oats can be used instead of quick-cooking oats, but they may result in a chewier texture. Ensure they are finely chopped if a smoother consistency is desired.
Pro tips
- For an extra crunch, add a handful of chopped nuts like almonds or walnuts to the mixture before pressing.
- If your protein powder makes the mixture too dry, add an extra teaspoon of maple syrup or a splash of non-dairy milk until it reaches a firm, moldable consistency.
- Store the finished protein bars in an airtight container in the refrigerator for up to a week, or freeze for up to 3 months. When I store mine in the freezer, I individually wrap them for easy grab-and-go access.
Enjoy these delicious and nutritious vegan protein bars as a versatile snack throughout your week. Feel free to experiment with different protein powder flavors or add-ins like dried fruit for a personalized touch!
Frequently asked questions
Why are my protein bars crumbly?
Crumbly bars usually mean the mixture was too dry or lacked enough binder. Ensure you’ve used the correct ratios of peanut butter, maple syrup, and protein powder. Adding a tablespoon more peanut butter or maple syrup and mixing well can often fix this issue.
Can I use a different nut butter?
Yes, you can substitute almond butter or cashew butter for peanut butter. Keep in mind that the flavor will change, and the consistency might vary slightly due to the different fat and oil content in alternative nut butters.
How do I make the bars less sticky?
If the mixture is too sticky, it likely contains too much liquid. Gradually add more dry ingredients, such as protein powder or oats, a tablespoon at a time, until the dough reaches a workable, less sticky consistency for pressing into the pan.
Why aren’t my bars firming up?
Insufficient chilling time or incorrect ingredient ratios can prevent bars from firming. Ensure the bars are refrigerated for at least 2-3 hours, or preferably longer. Double-check that you used the specified amounts of peanut butter and maple syrup as binders.
Try this next: No-Bake Apricot Almond Bars: Healthy Snack!
More from Vegan Breakfast →